
Placing the dowel connections for the top drawer division on the top carcass panel. I originally was just going to use one spline joint. Even though dowels need to be more precise it will make construction easier.
Before making any of the dowel joints I need to machine up the maple edging that needs to be connected to the front of the panel. Once glued on and cleaned up a rebate than needs to be made into it.

Dressing some of the rough maple stock that I had which will be used for the front edgings.

I could only afford to take off a little bit from the faces of the maple since I needed the edging to finish at 26mm.

Began ripping down the maple for the edging strips. I still over sized this which would be further taken down through the wide belt sander.

Sending through the wide belt sander. This was to remove any saw marks and any chip out sections left from the dressing or rip saw blade.
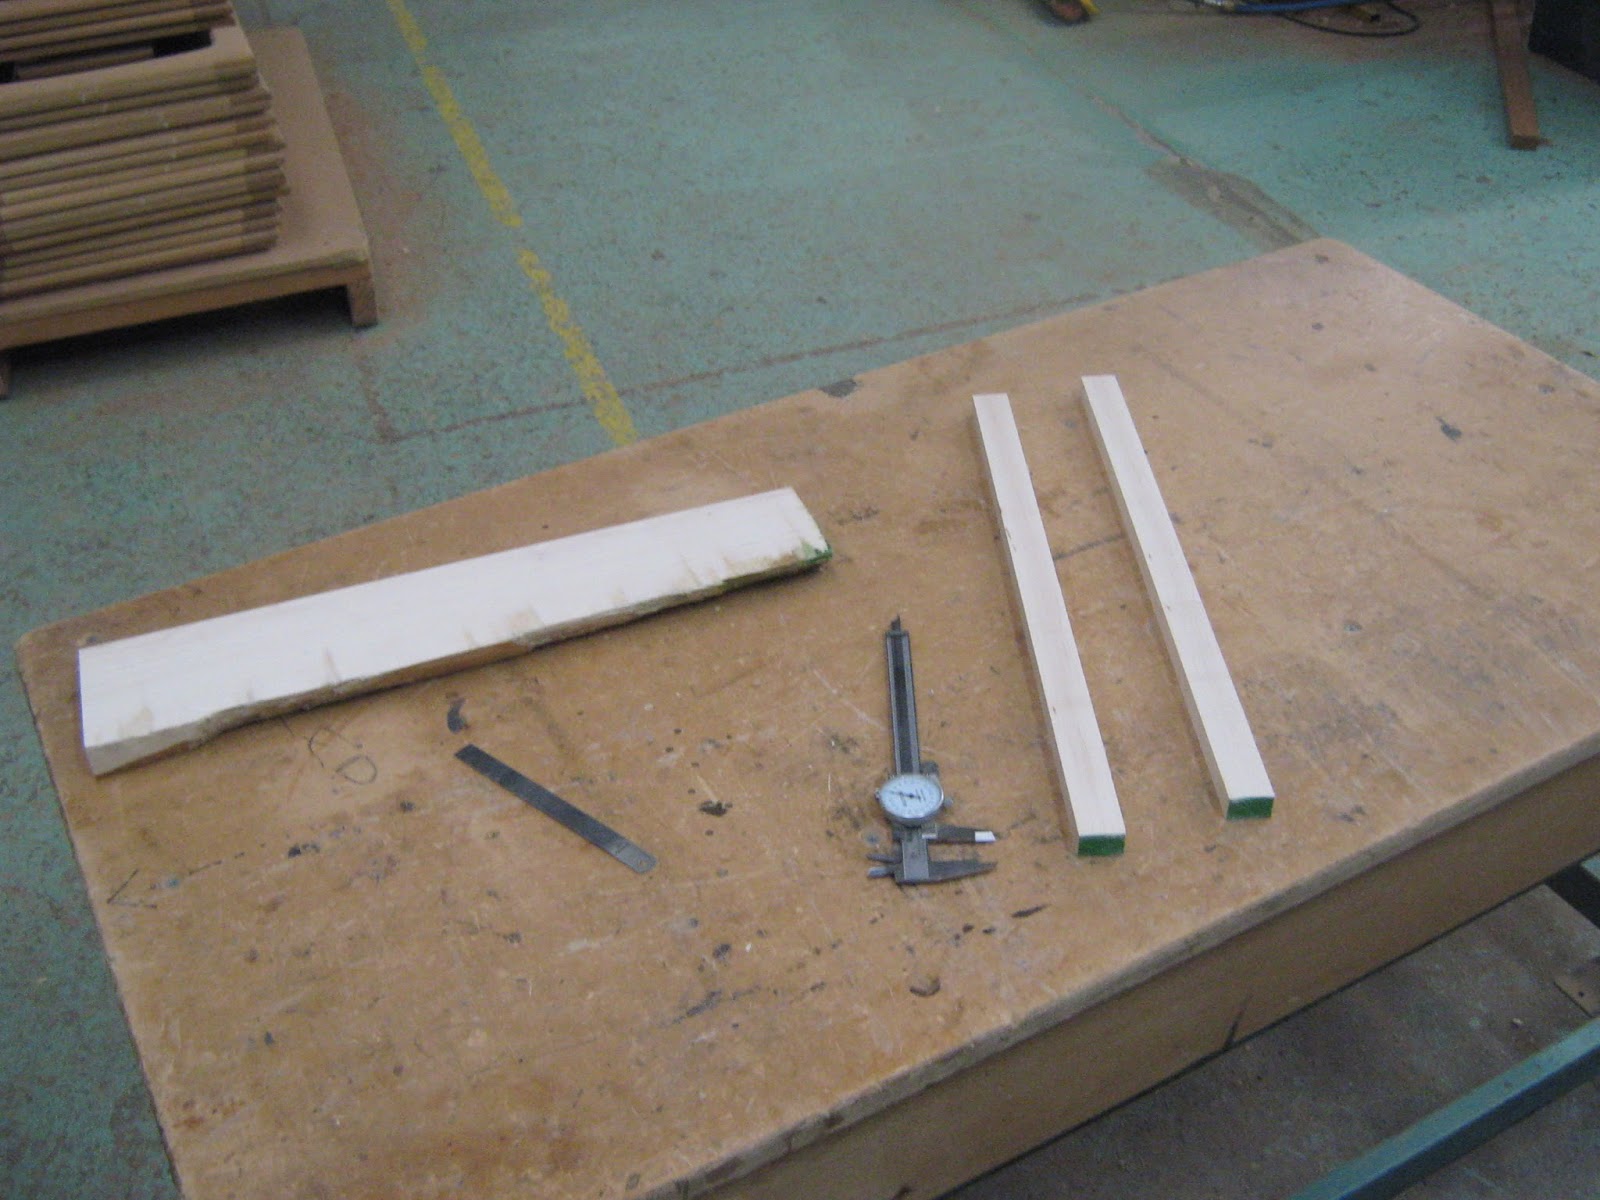
The edgings needed to finish 26mm wide and 18mm thick. The parts are over sized in length since they need to be mitered.

The front miter section needed to be at 130 deg which meant that each miter piece needed to be at 65 deg. I did the cuts on test pieces first to make sure that I had the cross cutting fence on my table saw set to the right angle.


The outer angle needed to be 25 deg. This is because the angle on the side where this edging meets up with is at this angle.

I made a mistake in some of my drawings and had to make some modifications. I needed to add a 2mm thick maple strip to the front edges of the plywood panel to cover up the plywood layer surface. As for the bottom edging this needed to be 9mm in thickness and 16mm in width.

Both of these edgings were going to just be stuck to the edges with tight bond 3. Although before adding the edgings to the front the spline connection slits for the sides had to be made first. This was more for the 9mm thick edging to be placed on after the slits were made. I needed to make the slits first since this edging extends a little bit past the panel sides due to the 25 deg angle which connects up with the top side panel section.

Since adding 2mm edging to the fronts I had to cut 2mm off the fronts so the measurements of the panel would still be the same.

Sanding down the edging to 16mm wide and 9mm in thickness.

I had to rip some new 2mm maple edging which I had some 2mm thick boards left over from the counter veneering.

Sanded the edgings down to 2mm in thickness than mitered. The front angle miter connection point needed to be 130 deg so both edgings had to be cut at 65 deg. As for the ends they needed to be cut at 72 deg as this was the end angle of the panel where the front and side edges come together.

Front back edgings mitered and now can be glued to the panel.

Masking off the top and bottom sections with painters tape to catch any excess glue and prevent it from going on the veneer face of the panel.

Applying tight bond 3 glue I just used a small paint brush to spread the glue.

Edging taped down with the painters tape and will need to be left for 2 hours before taking it off.

Final sanding to front edgings before being glued to panel.

Cleaning the front edging on the top face.
Before machining the spline slit into the sides I needed to clean down the edgings and make them flush to the panels surface on both faces. This would make sure that the panel would sit totally flat on the spindle molders table and would not rock giving an effective joint.
There was not much to take off so I was able to use my card scraper.

Cleaning the front edging on the bottom face.

I just needed to clean the edges of the edgings since they slightly extended past the panels end corner point. I just clamped a piece of timber up against to act as a blown out prevention while I pared the waste out with the chisel.

To make the spline groove in the sides I ended up using the spindle molder at work. Here is just a saw blade which is about 4mm in thickness which is about the same thickness as a wooden biscuit.
The groove needed to sit about in the middle of the panel. It did not matter if the groove was not completely 100 percent central. The main thing that mattered was that the other side had to be machined with using the same face facing down on the spindle molder table base. Doing it this way would make sure that even if there was an offset it would be located in the same section as the other side, thus keeping things even.
The groove was going to end about 25mm away from the edges and was going to be 14mm deep (exactly the same as the ikebana/ top drawer base panels.)

I set up stop blocks at each end to prevent me from machining past the 25mm mark at each ends. This machine process was the same as the process I used for the Ikebana/ top drawer base panels. Except I used a feather board instead of a pressure skid.

Slits made in the panels. There was a slight discrepancy but only about .3-.5mm.

I had to use longer stop blocks in the end to achieve the specific machining result I wanted.

Gluing on the 9mm by 16mm edging to the fronts. This will need to be left for 2 hours. I needed to make sure this was totally flush with the top section ( or as best as I could) as I did not want to do much cleaning for it.

Drilling in the connection holes for the drawer division. There were 5 6mm diameter holes that went in 20mm deep. The holes at the front and back came in by 25mm and other holes are spaced out by 118mm.

Making the wenge inlay rebates. Making the stop cuts first on the circular saw. The rebates were only going to be 2.5mm deep. The inlay strips were going to be about 3mm giving me .5mm to clean up later on with the card scraper.

There was to be 2 inlay strips on each end and 2 down the middle which would be on either side of the drawer division.

Routering out the waste sections with the hand router. Following the same machining process as for the inlay strips for the sides. machined .5mm away from the ends which would be cleaned up with the chisel and mallet and made the cuts in two passes.


Rebates are all cleaned out with the router.

Masking off the end sections first before gluing in the inlay strips. I had to hand down the inlay strips so they would fit properly into the inlay rebate sections.

Glued and clamped down the side inlay sections first before gluing in the middle sections. This will need to be left for 2 hours plus. The glue I used was tight bond 3.

Gluing in the middle inlay strips.

Clamped up the inlay strips. I had to use the convex clamp beams to get central pressure to the middle sections.

Made spline rebate slits into the front mold section of the panel. There would be spline rebates on the sides as well but this is located in the tops of the sides. This will be done when the sides are cut to there finished sizing.
No comments:
Post a Comment