I had to press some of my sheets together to form thicker panels for specific parts at tafe. I don't own a press and never does work for the job I needed to do. The panels that I needed to make thicker some had to be 21mm and others 26mm. These pressed panels would be a little bit over these sizes. These sizes are the finished sizes including veneer. So ill need to sand them down on the drum sander at work to there finished size before veneering, but remembering what I do to one side I must do to the other to keep them structurally balanced. I could have bought thicker sheets but I didn't see the point. This is because I would have only used about 1/3 for the 25mm sheet and the sheet was going to cost me roughly around $250. Plus I don't have space to store the sheet any where for further use.

This was a cast iron press I was using to press the laminates together. This was a hand operated one requiring a lot of elbow grease to move the handle the lower or raise the press.

This is the vacuum press. I didn't use this for the pressing which ill explain later down the track.

I had to use pressure boards on the top layer and the bottom layer between the laminates. I was going the press both the sides up in one go each side requiring 2 laminates. So between the two sides I needed to also place a section of butchers paper to avoid the two sticking to one another from excess glue.
I placed butchers paper on the pressure boards as well so the laminated panels would not stick to them. I used these pressure pads to avoid getting glue on the press. But also using these boards speeds up the gluing process. The steel plates on the press are cold so pressing them just on there own to the laminates would mean I would need to leave the laminated panels in the press longer.

Always get in the habit of doing a dry run with everything. Even with something simple as this getting the right heights right and placement makes things so much quicker to glue up and prevents mistakes from happening.

I sanded the glue faces in the direction of the grain. I just used a 180 grit sand paper application. Now you only do this on the glue sides. You only have to be rough doesn't have to be perfect. What this does it opens up the poors of the timber and allows the glue to penetrate better, producing a much stronger bonding surface.

Remember to mark the glue faces so you don't get mixed up when gluing up.

If you dont have a old paint roller and paint roller tray do this little trick. All it is is a scrap piece of ply with slits made into it from the bandsaw. What your doing here is making a spreader almost like a brush. Although this is really only perfect for thick application. When I come to laying the veneers I will be using the paint roller and tray since ill get a more even and thiner layer application. When dealing with .6mm of veneer its very important to get the glue layer right.

Just slop the glow on the spread it around evenly. Remember to place news paper or butchers paper under neath it on work bench so you don't get glue on it. spread the glue in different directions do it is all spread out evenly. The glue I used was just normal tight bond.

The laminates are now pressed now to wait for about 4 hours. With tight bond glue about 80 percent of the curing happens within the first hour. Normally you can take this out after 2 hours depending on the temperature. I decided to live it in for about 4 hours since I had other projects to work on at tafe that would keep me busy while waiting for this to dry.

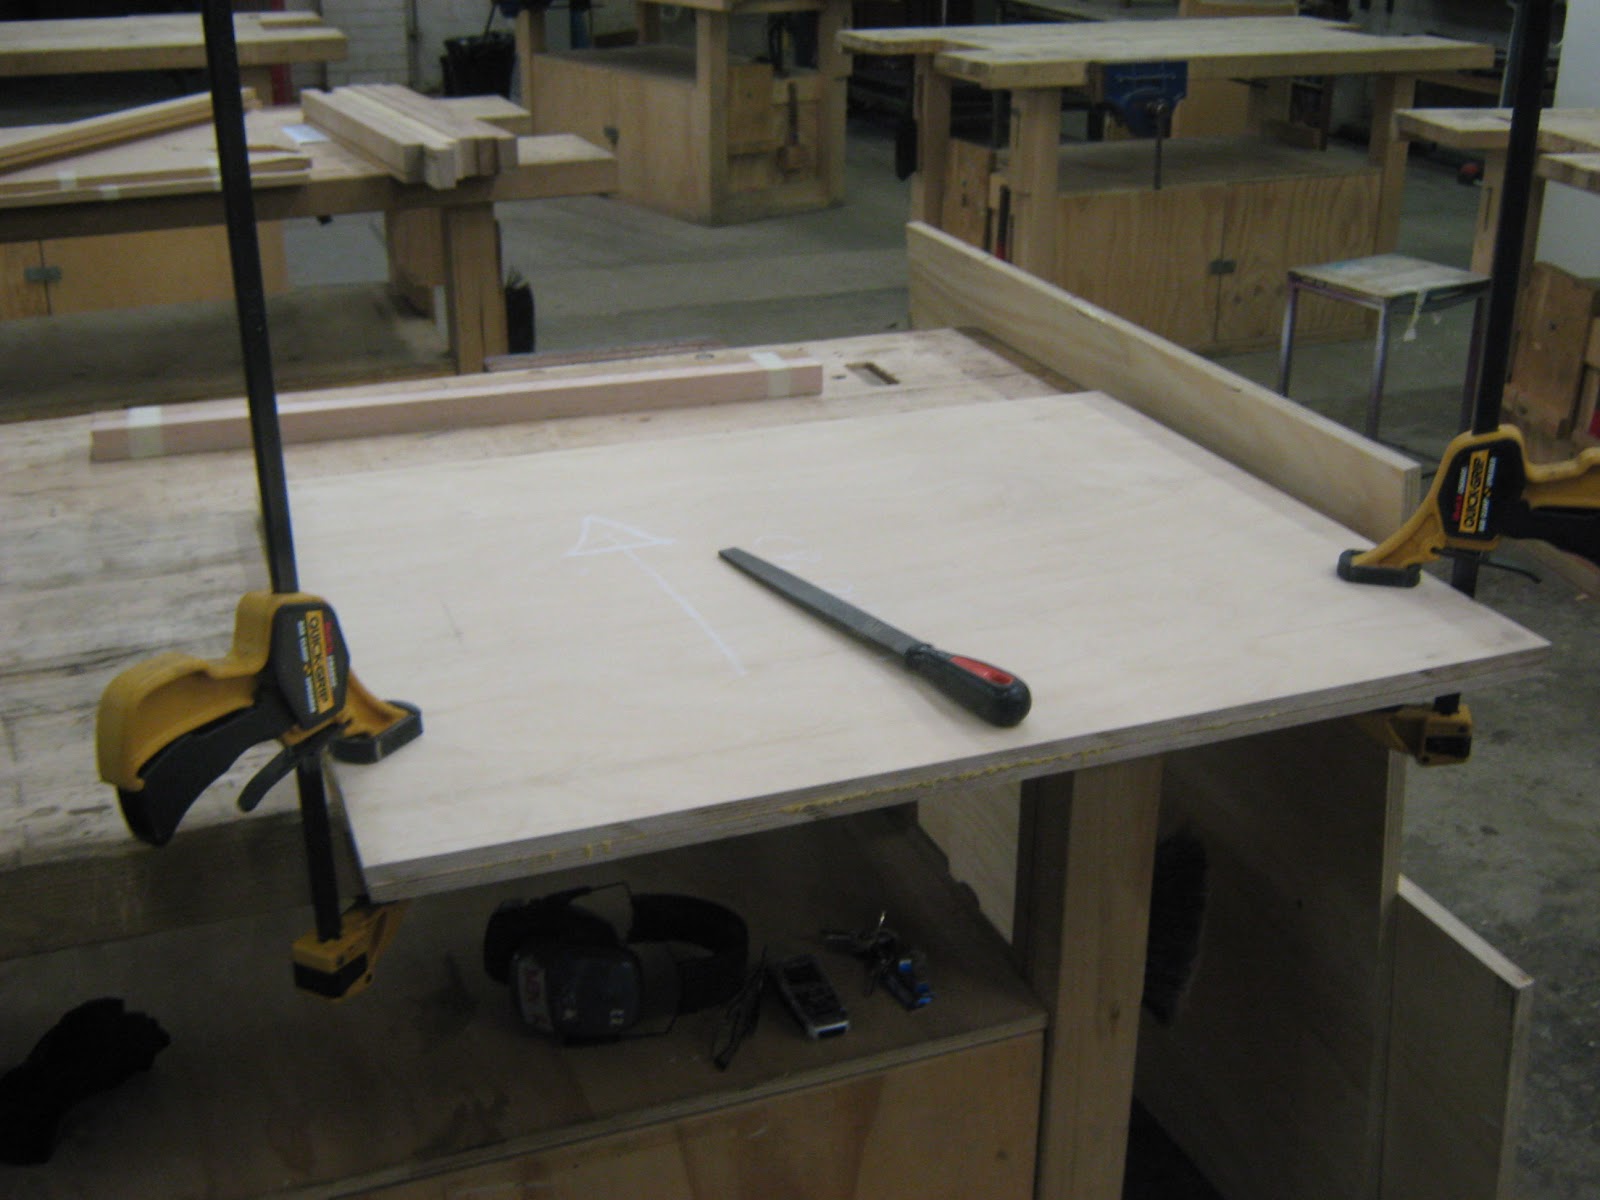
The panels glued up very well after the four hours. Now I just need to clean the edges up.

First you need to remove as much of the dry glue as possible this is so they don't blunt the machines plus it gives you a better working surface to work on when machining. Urethermeldhyde glue is a perfect example. It hardens like glass when dry and blunts cutter heads very quickly. Plus can cut your hands like glass so always best to remove most of it all or all of it so its easier to handle.

While I was waiting for the side laminated panels to dry in the press I had to cut down the Top carcass panel that needed to be pressed. I only needed to cut off 10mm since it was too big to fit in the press. This was ok since I had given my self plenty of off cut to play with. This is one of the reasons why you give your self plenty of off cut to deal with since you may run into situations like this.

Started to glue up the top carcass panel laminates after taking the side laminates out of the press. This followed the same process as before.

Pressed in the press. Now this will be left for next week to handle since it was coming to the end of the day and I would not have enough time in the press if I was to take it out when I left tafe that day.

While I waited for the top carcass panel to dry I decided to clean up the edges of the laminated panels for the sides. What I needed to do was clean one long edge than take it to the panel saw and clean the other long edge since the dressed edge from the jointer would be its reference to the rip fence. After that take as least as possible on one of the smaller edges by docking it on the panel saw than clean up the other side since I created another reference point to rest up against the docking fence stopper.
Now I didn't want to take off too much during all these processes since I still wanted to remain with maximum off cut to play with when coming to the veneer stage.
Taking advantage of the material trolley have it near your machine keeping work at hands length and neat and tidy. Also a lot higher trolley keeping it at standing height.

After experiencing what plywood is like on a jointer I needed to make sure my blades were taking off minimal amounts plus needed to have a sharp blade. Now I didn't have time to change blades so one trick is using the back edge or either the front edge of the cutters. You will find that these areas of the cutter hardly ever get used so they were razor sharp.
Again with the fence extended that far back and dealing with a large piece like this you need to be really careful so make sure that your holding the piece properly and place it hard up against the fence and make sure you have a guard covering the blade. (this was the type of guard I was telling you about previously when I was talking about the jointer at my work.)

A proper stance is needed as well so make sure also your working area is clear.
After cleaning the edge mark it so you know that its already been machine and its your reference point. I checked also with a square to make sure that it was straight and 90 deg square. Each panel took about two paces over the jointer.

Now I just ripped and docked the other edges to clean up.
Now the only panel that I did not glue up was the cabinet base panel. This was because it was way too big to fit in the hand press. Plus from advice wasn't going to work in the vacuum press properly. The vacuum press wasn't going to glue the laminates down properly as it would not provide effective clamping pressure down in the middle. This machine is great for doing large M2 sections of veneering since its only a very small laminate. But for doing larger laminates not so good. Even with the smaller veneer laminates you have to place pressure boards on it de ascending in size the further you place more on. Like in a pyramid formation. You do this to create more pressure in the middle. But since they were really thick laminates and the machine was pretty old it wasn't going to work as well.

How I'm going to laminate this panel is using the old school process before vacuum bag pressure clamps were invented, before hand presses or even hydrological presses were invented. I'm using the same technique I used for keeping the the joints flat for gluing up the plywood panels. Although on a much larger scale.
I will be using the same shallow convex curved clamping beams but longer and more of them. They will be placed on both the top and bottom. But to increase clamping load pressure I will be using pressure pads that cover the whole laminate this is to get a far better clamping load pressure in the middle of the panels. Plus the pressure pad boards will also protect the laminates.
Some times older school ways are the better option in certain situations.

This was the laminated panel for the Top drawer carcass panel that I left in the veneer press last week at tafe. Before running one of the long edges to obtain a reference point over the jointer I had to clean one of the edges with a file to get most of the glue shards off. This is so it wouldn't blunt the blades heaps.


After this had to trim off the waste off one edge to get it square and flush. Had to use the score blade here since I was going against the grain.

Now I could rest up against docking stop and clean the other side. Again only taking off what I needed to.

When you have squared and cleaned up two edges place a marked square in the corner this will than tell you that these edges have been cleaned and are square.


Next was making the shallow convex curved clamping beams to clamp up the base panel laminates together since it would not fit in the press.

The width of the panel was 662mm so the beams needed to be 800mm in length. I wanted the beams to sit over the job about roughly 70mm each end. This would create better clamping pressure.
Think of it this way If i made a suttle curve in a piece of timber and placed it over a panel. Now this curve only had one central point. That central point would act as an anchor. Once applying pressure on the ends pressure would be placed in the middle and as the pressure increased it would slowly work its way to the ends when the pressure closed up the gap from the curve creating contact with the beam to the panel.
So if placing the beams with an over hang to the panels the clamping pressure would increase further out. The clamps on either end would be clamping both the top and bottom curved beams creating even pressure on both faces. But between the beams and laminated panels there would be waste panels. These panels would be acting as clamping panels distributing the pressure even more evenly especially between the spacing gaps of the beams. Also will protect the panels.

Docking the timber lengths on sliding bench saw. This timber was scrap from work.

Once cut now had to place markings on it as to what edge was going to be the shallow convex curve. The beams were 65mm wide I didn't want to drop the width do much since The wider they were would create strong clamping beams and be less pron to warping. The thickness was 32mm, again didn't want to alter this that much. The 32mm thickness is a great thickness for most clamp pads to sit on properly.
There was going to be 10 beams 5 on top 5 on bottom.

The marked edge where the arrows were pointing down needed to be dressed first to obtain a square flush face before any shaping started with the hand planer.

I only needed to do one pass.


After planing the first one I noticed that each end was slightly out by one another about .3mm. You dont want to be taking too much off at the largest point is about 1mm-.5mm, so not huge. You want a tapered curved on each end that meets to the central point of the beam.


Mark the planed edge with crayon. Only do one side at at time since you are wanting to create that even symmetrical curve that starts out from the middle. The mark crayon will be a major to measure from on how much your taking off. This gives you a better understanding as to how much you need to alter your planer. But after a while working with it you get a fair idea how much you need to adjust it. Make sure to have that center point clear since that is your central reference point. Your wanting to place more pressure on the ends than when reaching the middle lift off when planing. This is so your creating a descending depth curve.
Always lock it in the vice so you have more control. With a planer you want the use of both hands. Side clamps are good but I prefer using my built in clamp thats in my work bench. This is called a tail vice. With a tail vice you also have pockets in the table where you place stoppers for the piece to rest up against that are below the job thickness. According on how long the piece is you place a stop at one end and the other is in a pocket that is located in the tail vice. So when you move the tail vice the stopper in it will move away from the job loosening it or moving closer to it will tighten the job. Since it is putting pressure up against the job than the job is putting pressure up against the other stopper.

Best to use a number 7 or a number 8 planer since you have better control and are able to remove more waste. This planers are great for when making joints on beams square and flush. A smaller planer like a number 5 will be ok but I like these ones more for the application I was doing.
When I got one beam right and was happy with it I used it as a template for the rest.
There are other ways of making these shallow convex curve clamping beams like making a template/ jig on cnc and sucking them down to machine the curve (didn't have time to write program and make jig). Or using a horizontal sander and making the curve gently on it, but making sure not to stay in one place for too long. You wont want to do this as you can create a flat point. When another flat point is create it creates another anchor point which will effective the distribution of clamping pressure.

I cut some scrap MDF on the panel saw that I could use as waste/ clamping boards for clamping up the plywood laminates.

Just used the waste board as a template for the brown paper. The brown paper was used to prevent the lamination from sticking to the waste board. Now the waste board needed to be the same dimensions as the laminating panel. This is to create better clamping pressure. Too much over hang wont place the right amount of pressure on the ends of the laminates.


Needed to cut some support beams for the clamping job to sit on between the work horses in the work shop at tafe. Sadly there are only 2 work horses in the whole work shop would have loved to have 3.


Waste board which also acts as a clamping board to distribute the pressure evenly is placed down on the bottom convex clamping beams than the laminates than another waste/ clamp board than more convex beams on top.

I did a dry run and everything seemed to clamp well. Although I reckoned I needed another set of convex clamp beams(one for top and bottom) to distribute the clamping pressure even evenly. Theres problems with laminating if the pressure is not distributed evenly. This mainly happens with heaps of 3mm laminates but it can cause ripples. What the ripples are are just sections that have dried but have not clamped down properly to the other laminates glue face. To get a better clamping pressure you can add more convex clamping beams or use a thicker waste/ clamp board. There wasn't much scrap around so I just made some more convex clamping beams.

Added in another one by just using some scrap pine batons found in the material racks in the machine shop.

Once I was happy with the dry run had to sand the glue faces with 180 grit sand paper to open up the poors to create a better bonding surface. Also marked glue faces.

Made glue scraper and began spreading out the glue across the whole board and stoking out the glue in different directions.

Job clamped up. Now you want to place the clamps near the over hanged section of the convex beams. Since due to the anchor point in the middle and the subtle curve when doing this pressure will be placed in the middle first than it would make its way to the ends spreading out the clamping pressure evenly.
You only want to tighten the clamps on first very gently than when all of them are on tighten up. Now give the job about 10-15 mins to sit before clamping up. You will find if you don't do this when clamping up because of the glue the laminates will want to slid all over the place. It still slid a bit but I wasn't bothered by this since I have given my self extra for this kind of thing.

There were some extra clamps needed in some areas so I just used G clamps and clamping blocks to clamp these areas down.

Whipped most of the excess glue off so it wasn't going to be a pain to remove when dry.

Left it to dry for the rest of the day, Will be working on it next tafe day, next week.
In this application you sort of have to have a little bit of faith. The ends show that its clamping up well but you cant really tell in the middle until its dry. All the engineering behind it works out its some times you just have to cross your fingers. Most of the board will be removed mainly the center point I'm using so yeah there needs to be a lot of faith.
The Cabinet base laminate panel actually glued/ clamped up very nicely. (noticed this heaps when band sawing the part shape out and seeing now gaps. Just had to remove dried glue on one of the long edges that I was going to square up on the jointer. Needed to remove glue so would not blunt blades.

Again using the back part of the jointer blades since they are usally the sharpest and they don't get used so much. When running plywood over the jointer it blunts the blades very quickly more so because of the end grain layers so this is also why its important to run it at the edge of the jointer blades since these areas don't get used that much.

After one edge was squared up I could use it as a reference point to clean up the other side. Again taking off the bare minimum since still wanting heaps of off cut to play with.

Now had to dock the edges so needed to use the score blade since cutting against the grain. Need to do this to avoid splitting. Again like with the ripping only wanting to take off what is needed since want to be left with as much as possible.
Ben your process is very attentive! Good work so far and keep it up.. Good tip on the joiner about using the far sides of the blade, as those particular areas have not been used as much. Sharp and fresh! The tapered timber lengths for clamping do a real good job at evenly dispersing pressure over the glue up. Peace out
ReplyDeleteRowan
YAY some one commented. lol Thanks heaps man. Yeah I try to use the whole length of the blades as much as possible to get the most life out of them before I send them off to get sharpened. They cost a lot to get sharpened. When I get my new jointer down the track I'm thinking of getting Helical blades. Just a few easy tricks and know how like that can save so much time.
ReplyDeleteWith the tapered timber lengths they do disperse good clamp pressure its the first time that I have done something like that so huge. Like I did a dry run and all and seemed to clamp up fine. Some times like I said with those kinds of jobs the out sides look like they clamp up fine but who knows in the middle even though all the maths and engineering add up. Some times you just have to go out in a little bit of faith.