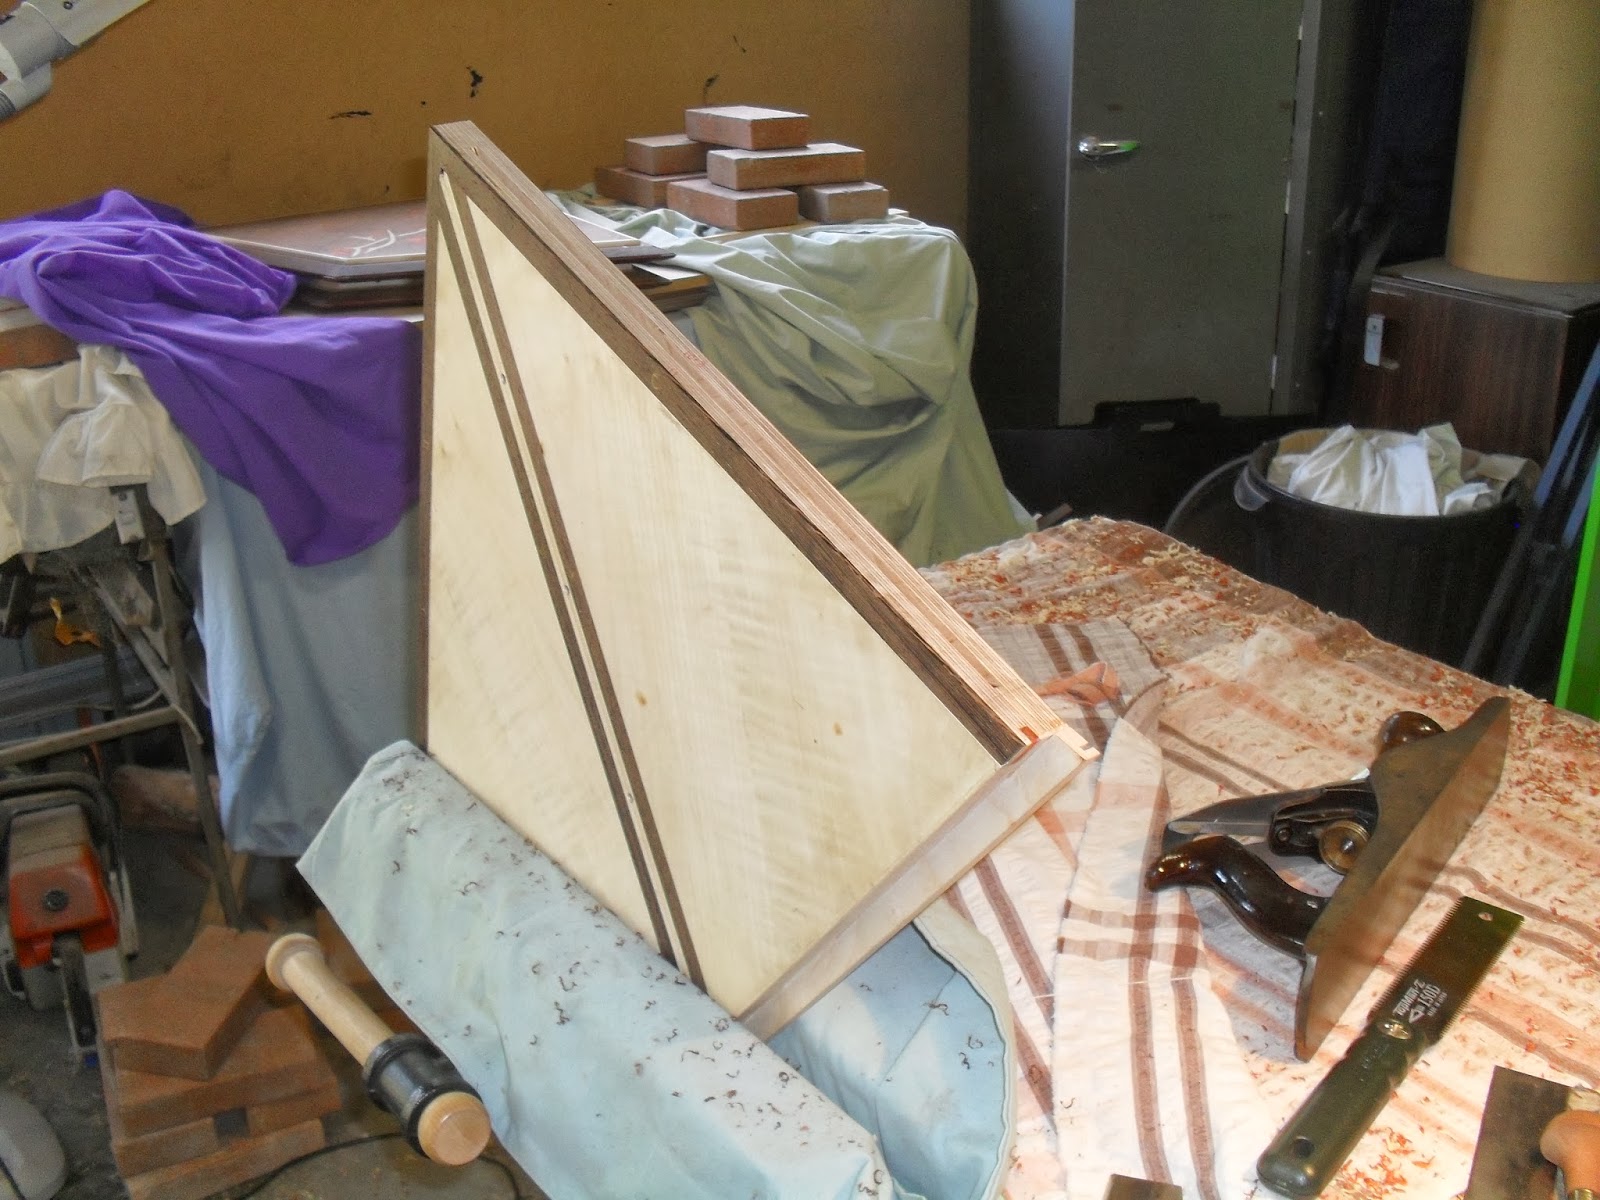
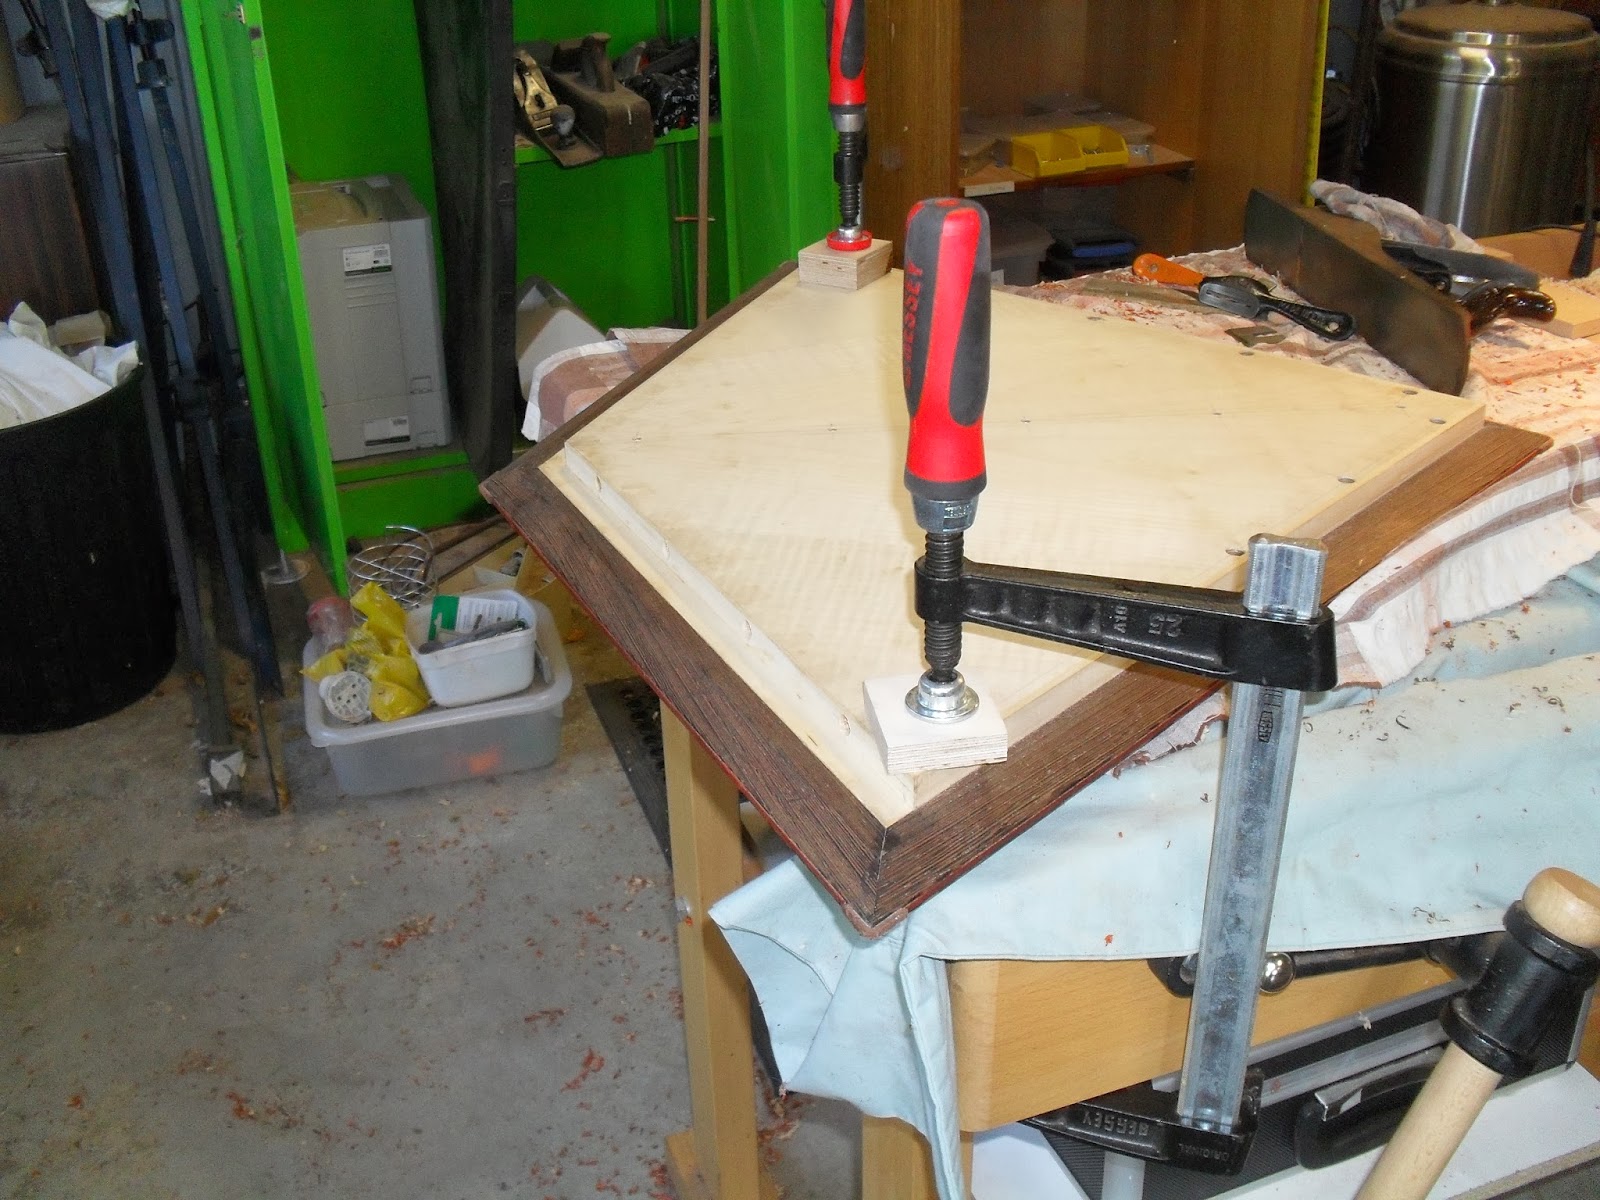
Cleaning down the paduke splines which are located in the some of the panels. This is the Ikebana base panel.
The problem with paduke especially near the end grain it splits out to much since it is quite brittle.
Cleaning the paduke splines down on the top carcass panel. This was a bit of an awkward spot to remove the waste sections with the flexi Japanese saw. It would have been best to clean off the paduke spline than add in the top edging.
Cleaning down the over hanged inlay wenge sections on the top carcass panel.
Cleaning down the stringy inlay for the molds for the cabinet top also the Jarra miter splines.
I had to change direction when planing with the spoke shave blade due to grain direction changing.
Stringy inlay all cleaned down and flush with the rest of the cabinet.
Cleaning down the stringy inlay for the cabinet base
Stringy inlay all flush with the rest of the cabinet.
Started to clean down the wenge inlay strips that were on some of the panels.
As well as making the inlay flush with the panels I puttied up the gaps there were there with some ebony timber mates putty. This is the bottom of the Ikebana base.
Cleaning down the inlay strips for the top carcass panels and filling up the gaps with putty.
Planing down the inlay strips for the inside sections of the cabinet sides to make them flush with the rest of the panel.
I have been having some hot weather at the work shop and have noticed that some of the sides have started to bow even though I have had them under blankets with weight on them. I'm pretty sure they will pull in when I do the major assembly.
Began cleaning down the wenge inlay strips for the drawer box divisions.
Filling up inlay gaps.
Filling up the inlay gaps with ebony putty. I tried using some jarra and other red puttys but when dry they did not seem to match up well with the colour of the paduke. The ebony putty seemed to match a lot better since it went well with the wenge.
Top all sanded. This is not a final sand I just wanted to see what it was going to look like when all the putty was removed. I did this on tests first but it was only on a small inlay piece. I wanted to see what it would look like on a larger scale.
I used meth to see what it would look like ( meth acting as a finish) It actually turned out pretty ok. There are some bigger gaps that I wont use the putty for, this is mainly on the stems. Ill have to cut some little bits of American Beech and glue them into the cavitys.
There were some gaps with wenge inlay strips for the drawer box divisions which I puttied up with some ebony putty.
I actually found that using the super glue method and rubbing dust into the gaps creating an almost natural filler worked a lot better than the putty even though it was going to take a bit longer. Clean up will also take a lot longer as well.
Finished off filling up the gaps with the super glue and dust for the back doors. Like the top there are some other areas that will need small bits glued into the cavities.
Finished filling in the gaps for the bottom and top door flaps as well. There are some big fix ups I need to do which I mention a few posts back.
Finished filling in the gaps for the outside side faces.
Planing down the maple inlay strips on the sides.
There were some gaps near the inlay strips which had to putty up as well.
Filling up the gaps for the inside inlay sections with jarra putty. The super glue method did not really work so well with the maple veneer. It worked really well with the wenge due to it being very powdery when sanded.
Filling up inlay the gaps for the Ikebana base and top drawer base panel.
Filling up inlay gaps for the bottom right front door flap.
Filling up the inlay gaps for the back left door.
Filling up the inlay gaps with super glue and dust for the drawer box bases. There are some bigger gaps with the stem inlay where I will need to glue in some small bits of timber into the cavietys.
There were also some gaps between the paneling and drawer slips which needed to be puttied up as well.
Cleaning down the front wenge inlay strip on the inside of the sides as well as cleaning down the wenge veneer.
Close up shot of the section end where I had to attach the veneer.


No comments:
Post a Comment